RabbitMQ
The RabbitMQ Integration enables real-time visibility into your message broker performance. Monitor your queues, exchanges, channels, and nodes by creating custom visualizations to track the metrics that matter most to your system.
For more information on the Rabbitmq Integration, navigate to the Rabbitmq Demo Project repository.
Prerequisites
Middleware Host Agent (MW Agent) v 1.13.0+ must be installed on your local machine. To install the MW Agent, see our Installation Guide.
This integration supports RabbitMQ versions 3.8 and 3.9.
The RabbitMQ Management Plugin must be enabled by following the official instructions.
Also, a user with at least monitoring level permissions must be used for monitoring.
RabbitMQ Configuration
Enable the Management Plugin
The Middleware Agent requires the RabbitMQ management plugin to collect telemetry data:
rabbitmq-plugins enable rabbitmq_managementCreate a Monitoring User
Create a dedicated user for monitoring:
# Create user (replace <username> and <password> with your values)
rabbitmqctl add_user <username> <password>

# Set user tags (monitoring tag allows read-only access to management API)
rabbitmqctl set_user_tags <username> monitoring

# Grant permissions to the default vhost
rabbitmqctl set_permissions -p / <username> ".*" ".*" ".*"
Verify User Permissions
Check that the user has the correct permissions:
rabbitmqctl list_user_permissions <username>Test the Connection
Verify that the monitoring user can access the management API:
curl -u <username>:<password> http://localhost:15672/api/overviewIf successful, this command should return JSON data about your RabbitMQ server.
Setup
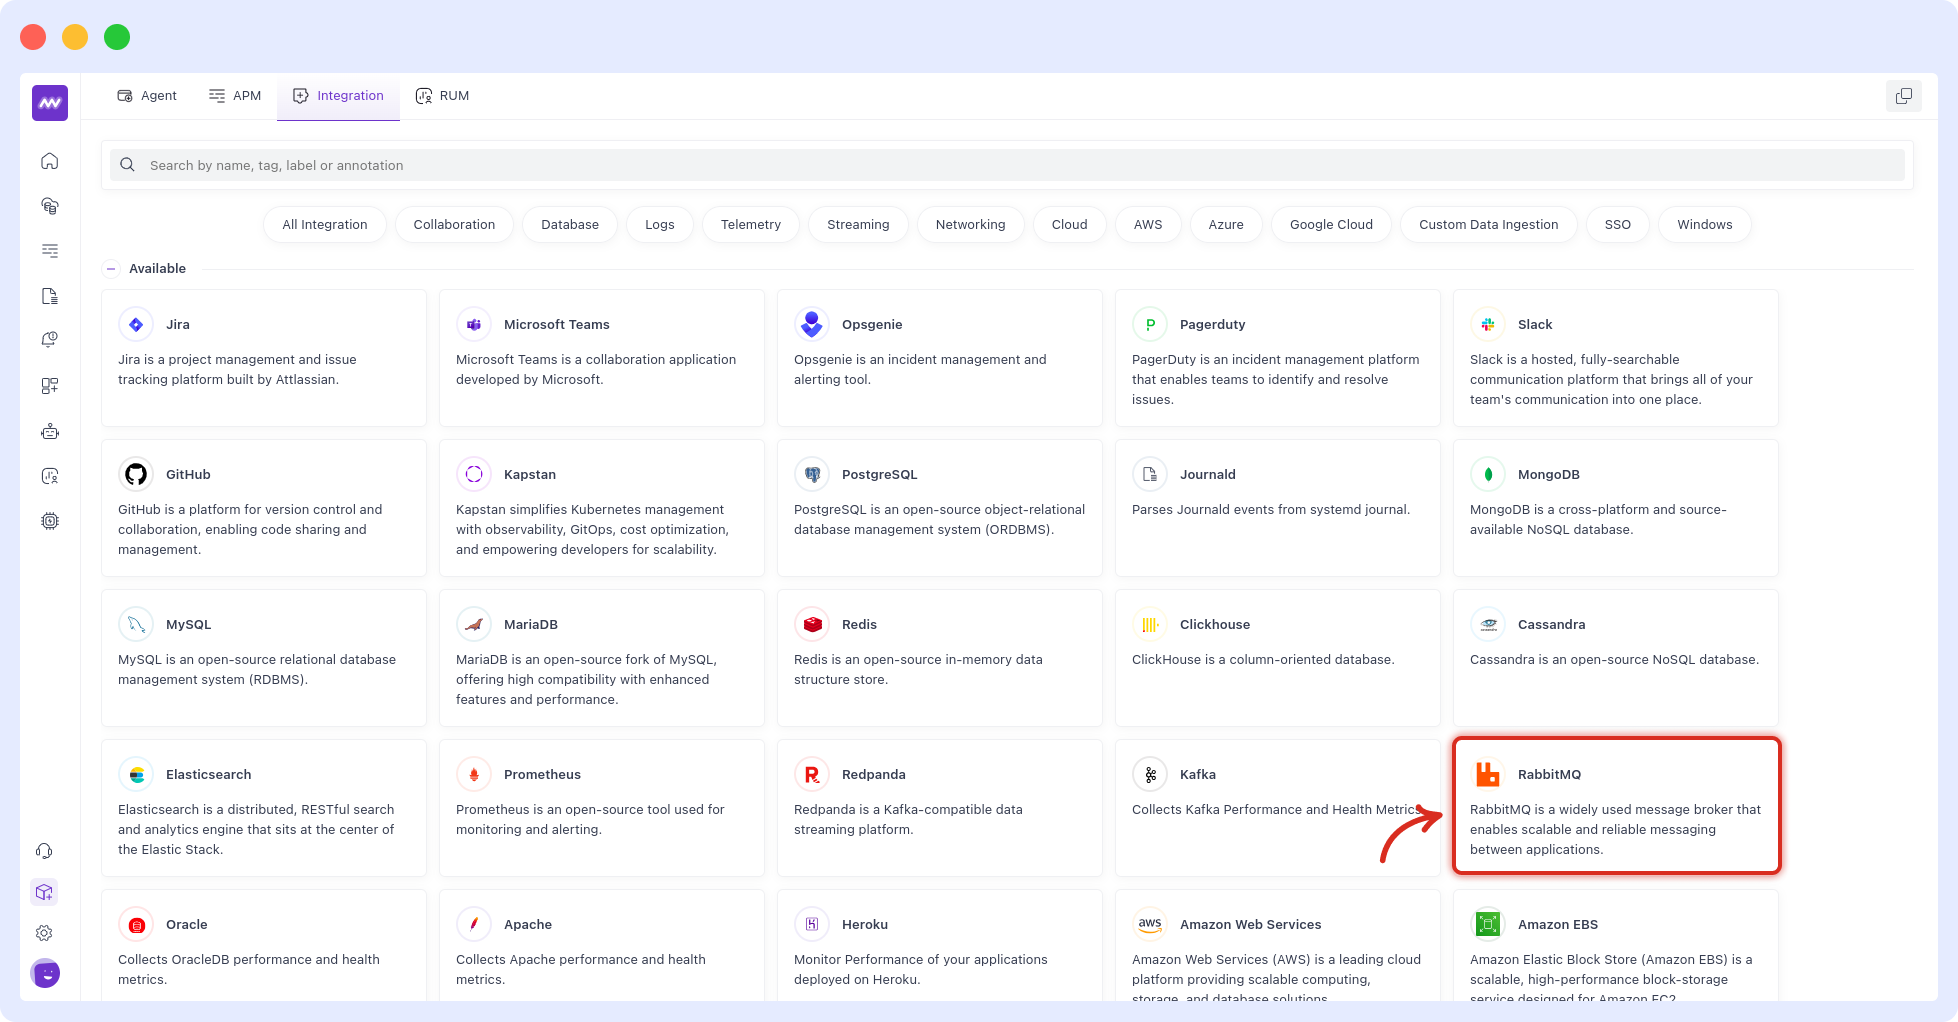
Step 1: Access Integrations
Login to your Middleware account, navigate to the Rabbit MQ integration, and connect RabbitMQ:

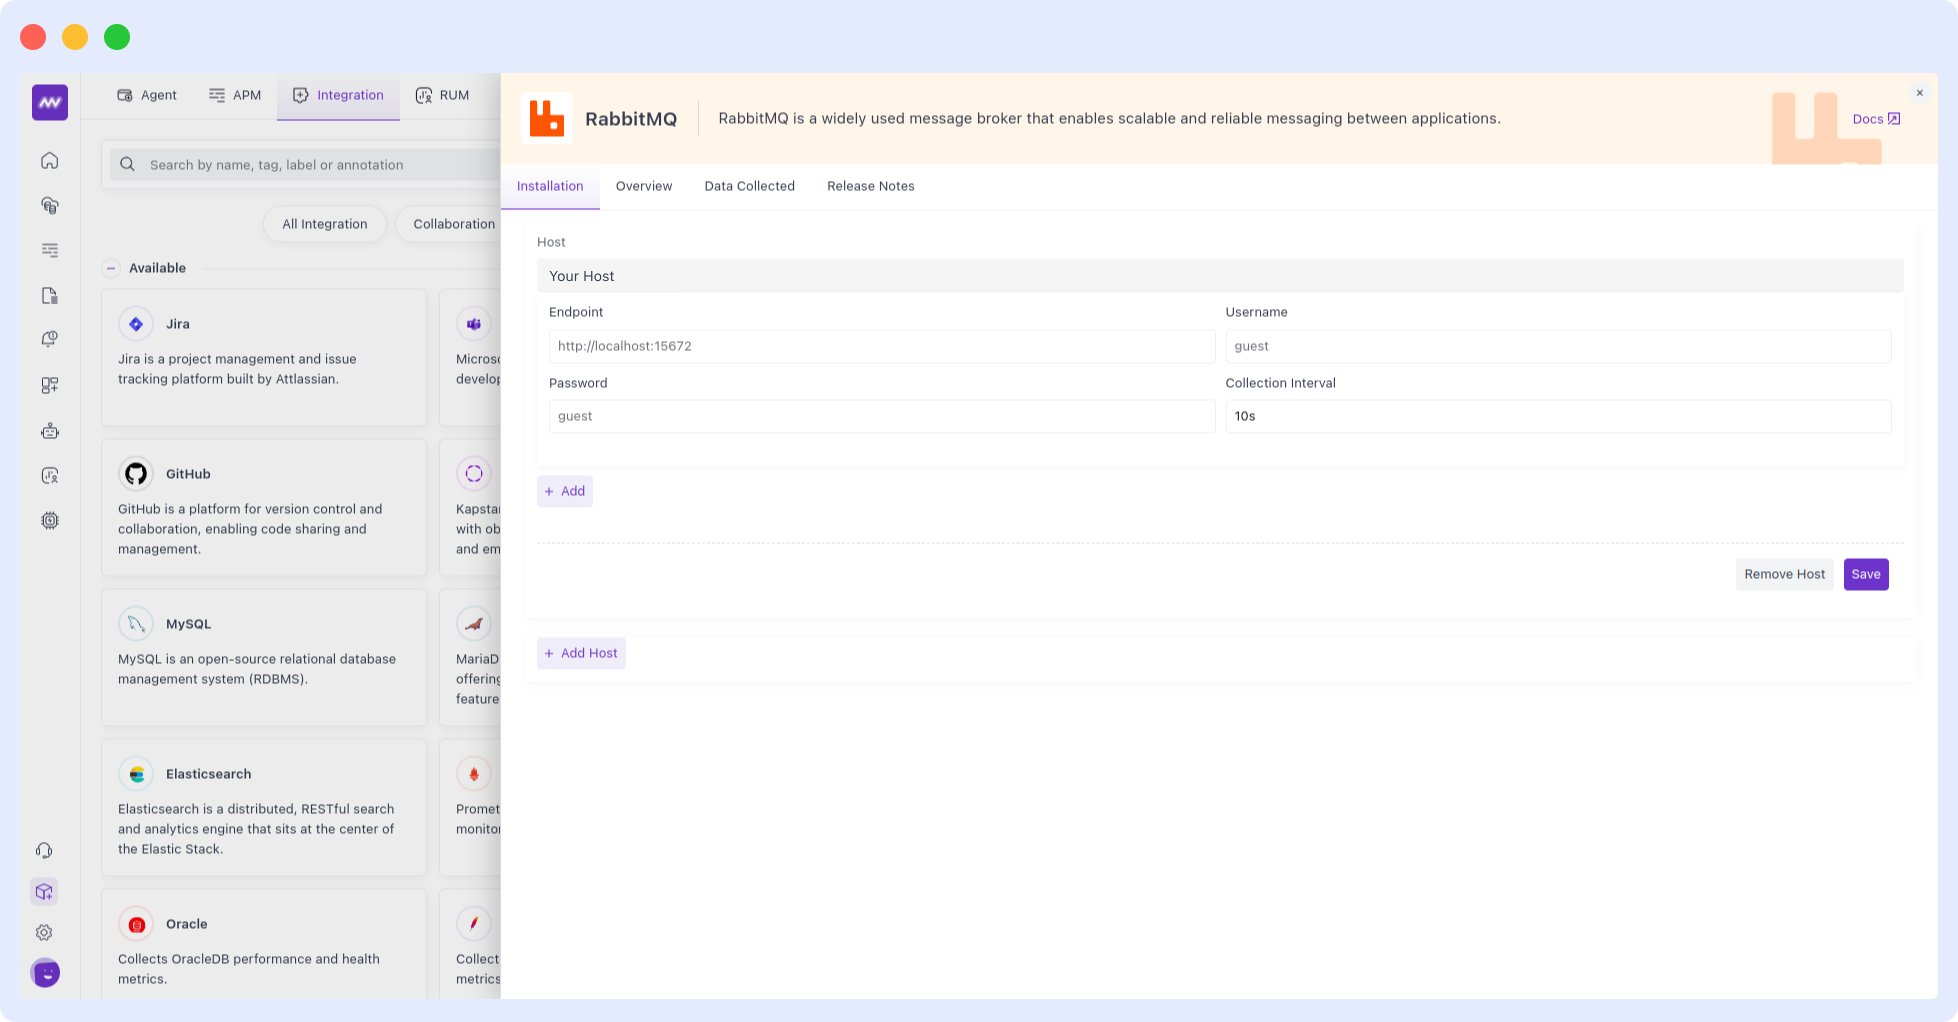
Step 2: Add RabbitMQ Host
Select the host on which you want to install the the rabbitmq integration.

Step 3: Add Configuration for RabbitMQ Host.
Add your RabbitMQ endpoint, credentials for a user with at least monitoring, and collection interval for the metrics.

Visualize Data
To see how the data is flowing from RabbitMQ, you can create your own widget from scratch. To do so, navigate to the Dashboard Builder and select the dashboard you would like to create a widget in. Select Add New Widget and choose RabbitMQ as a data source.
Metrics Collected
Create your own widget from scratch. Navigate to the Dashboard Builder and select the dashboard you would like to create a widget in. Select Add New Widget and choose the RabbitMQ data source.
| Metric | Description | Unit | Type |
|---|---|---|---|
rabbitmq.consumer.count | The number of consumers currently reading from the queue. | {consumers} | gauge (int) |
rabbitmq.message.delivered | The number of messages delivered to consumers. | {messages} | cumulative (int) |
rabbitmq.message.published | The number of messages published to a queue. | {messages} | cumulative (int) |
rabbitmq.message.acknowledged | The number of messages acknowledged by consumers. | {messages} | cumulative (int) |
rabbitmq.message.dropped | The number of messages dropped as unroutable. | {messages} | cumulative (int) |
rabbitmq.message.current | The total number of messages currently in the queue. | {messages} | gauge (int) |
Need assistance or want to learn more about Middleware? Contact our support team at [email protected] .