Browser Testing
Browser Synthetic Monitoring allows you to simulate real-user interactions with your web applications across various browsers, devices, and locations. These tests ensure your applications are accessible, responsive, and performing as expected under different scenarios. This guide outlines how to configure and utilize Middleware Browser Synthetic Monitoring effectively.
Overview#
Browser tests are scenarios executed by Middleware on your web applications. They run at configurable intervals from multiple locations worldwide, across multiple browsers and devices. These tests verify:
- Your application's uptime and response behavior.
- That predefined conditions or assertions are met.
Middleware also supports testing applications behind authentication. If this is relevant, follow the dedicated guide and share feedback with the Middleware Synthetic Monitoring team to enhance support for critical use cases.
Test Configuration#
You can create a test using one of the following methods:
Build a Test from Scratch#
If you prefer complete customization, you can start with a blank template:
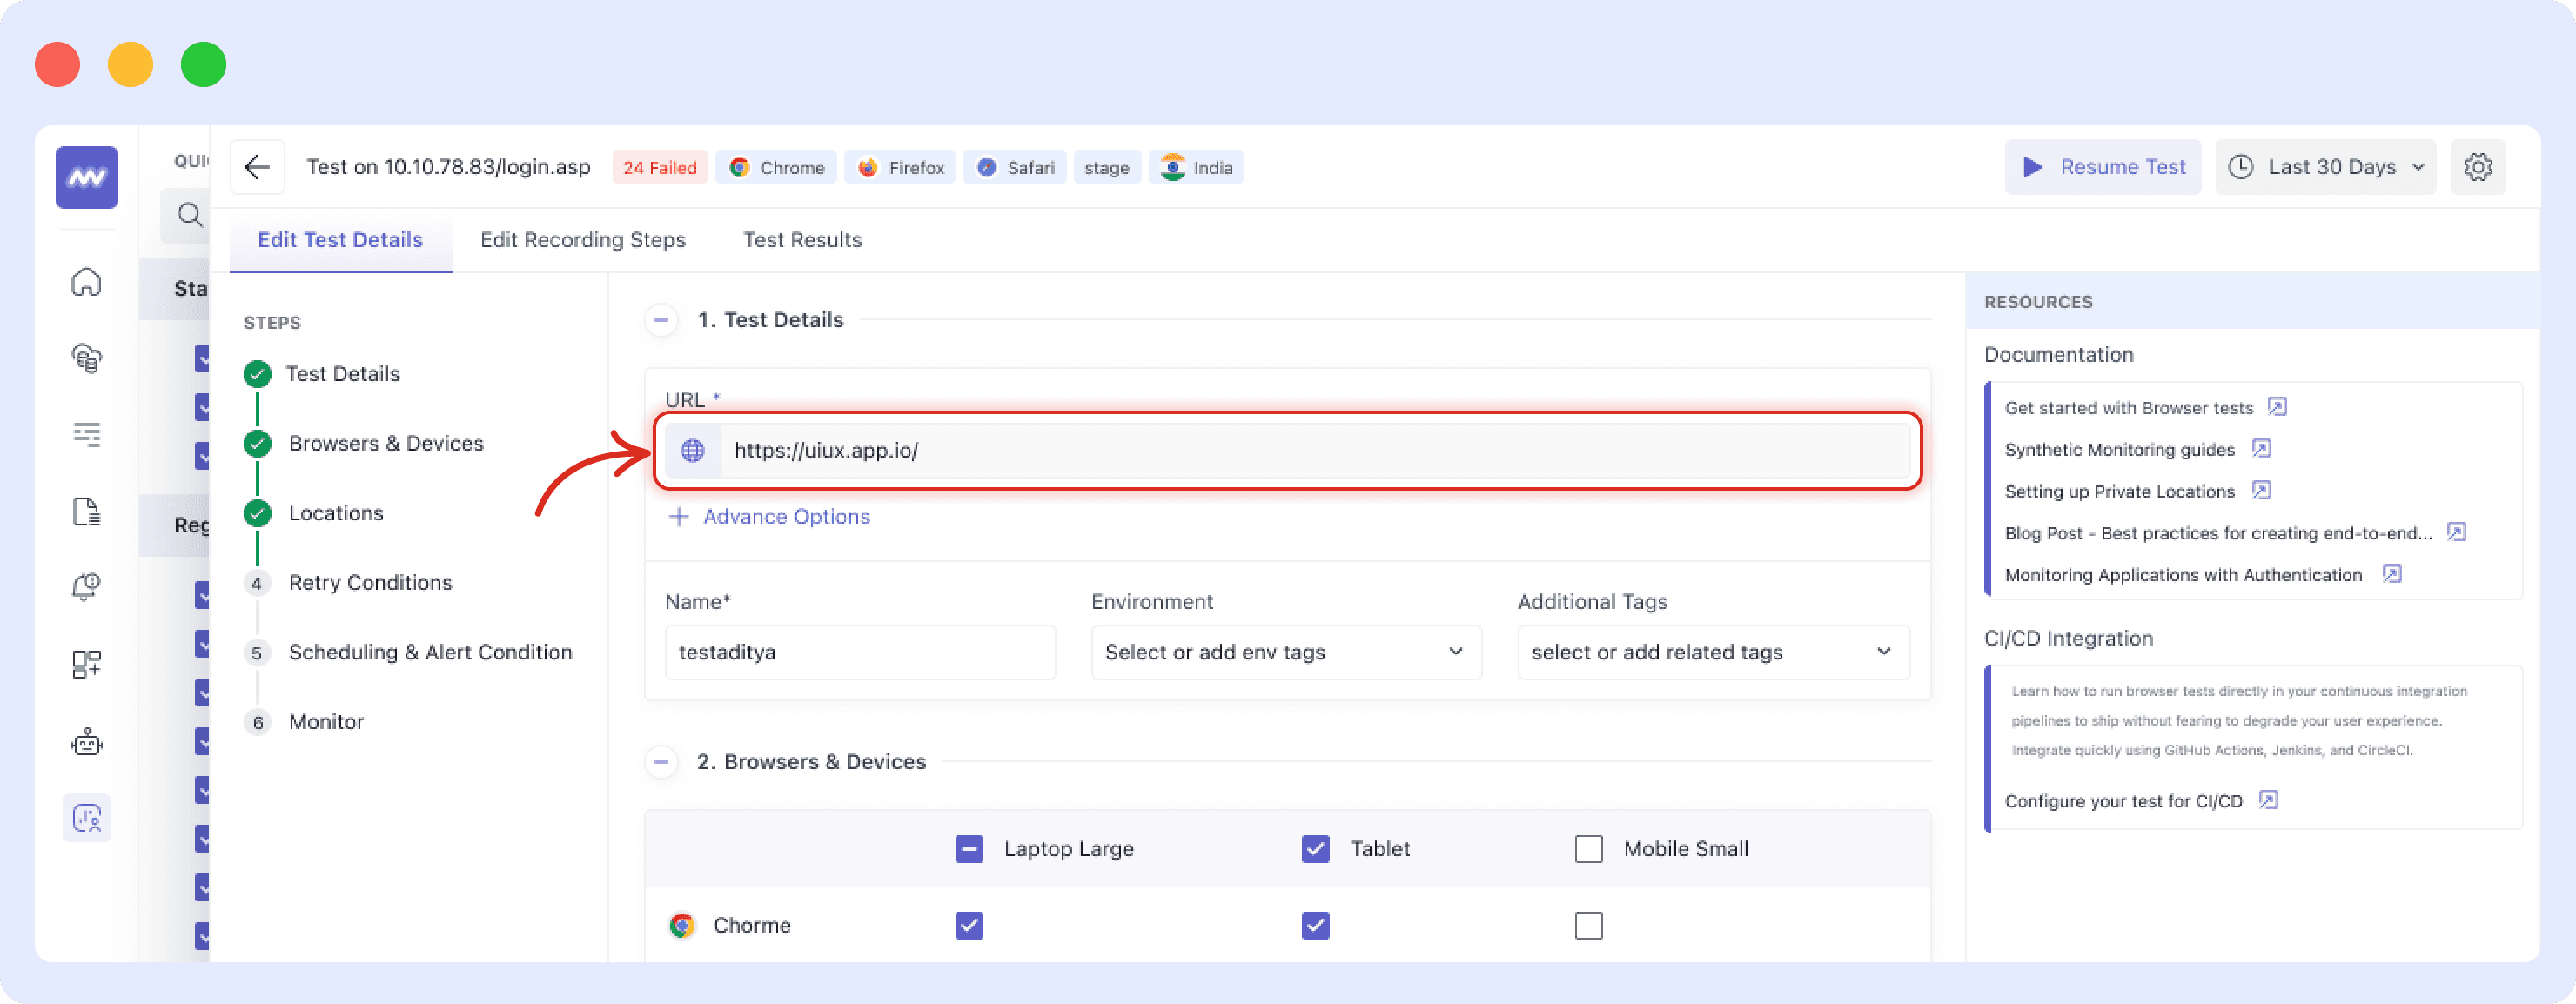
Starting URL: Enter the URL where your test scenario begins.
Example:https://docs.middleware.ioTest Name: Provide a descriptive name for your test.
Environment and Tags:
- Specify the environment (e.g., PROD, STAGING).
- Add additional tags in
<KEY>:<VALUE>format for filtering and organization.
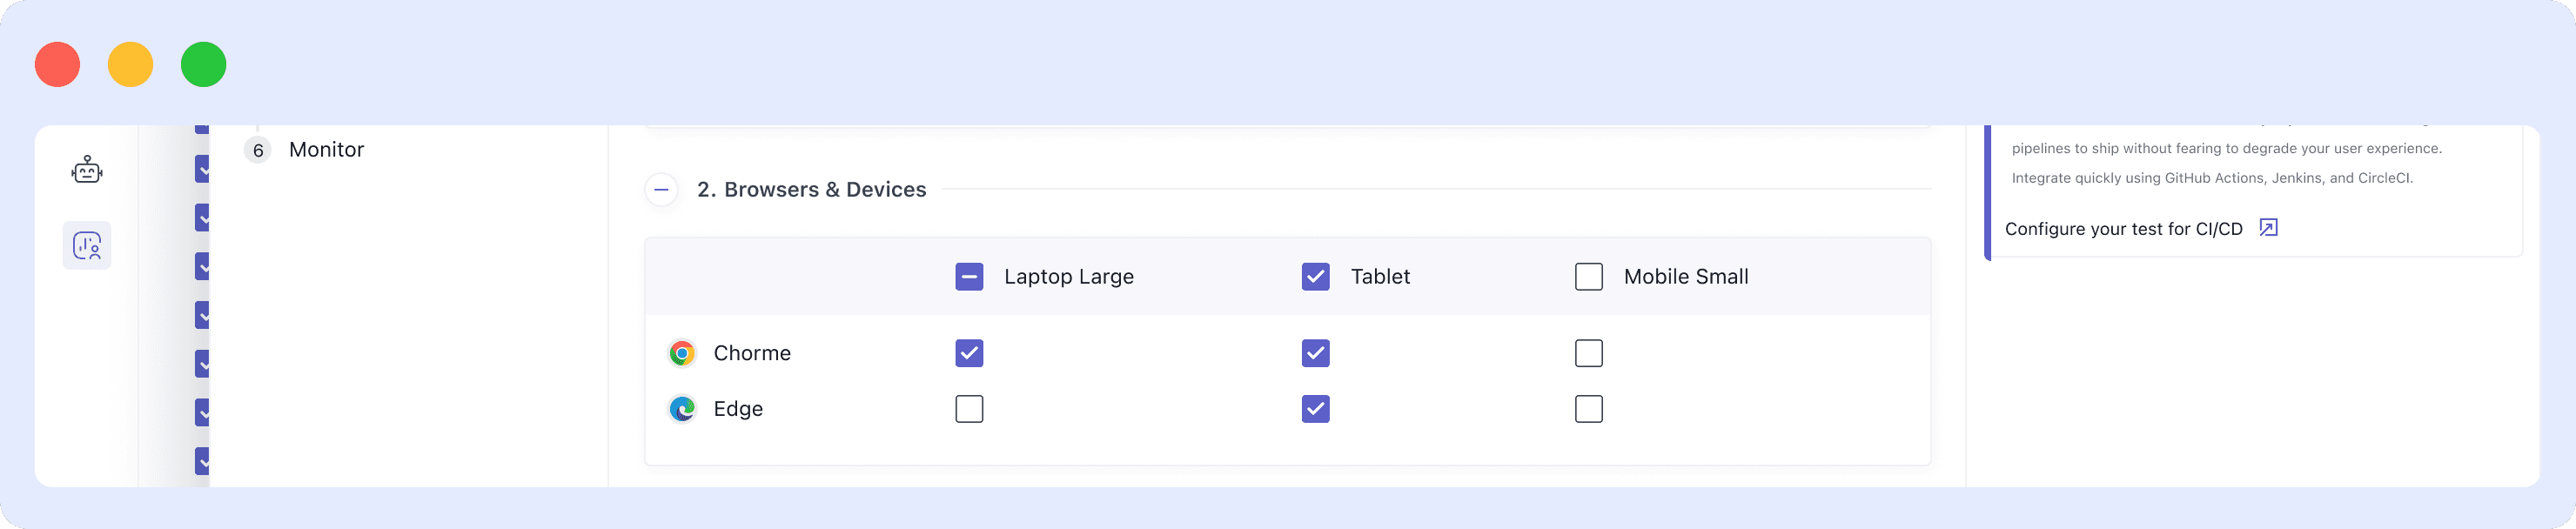
- Browsers and Devices:
Select the browsers (e.g., Chrome, Firefox, Edge) and devices (e.g., Laptop Large, Tablet, Mobile Small) to test your application on.- Laptop Large: 1440 x 1100 pixels
- Tablet: 768 x 1020 pixels
- Mobile Small: 320 x 550 pixels
- Test Locations:
- Choose from Middleware’s global locations (e.g., Americas, EMEA, APAC) for public-facing tests.
Test Frequency:
Configure test intervals (e.g., every 5 minutes, daily, or weekly).Save and Record:
ClickSave & Edit Recordingto save your test and proceed to add steps. You can record steps with the Middleware extension, or import a recording from Chrome Recorder.
Advanced Options#
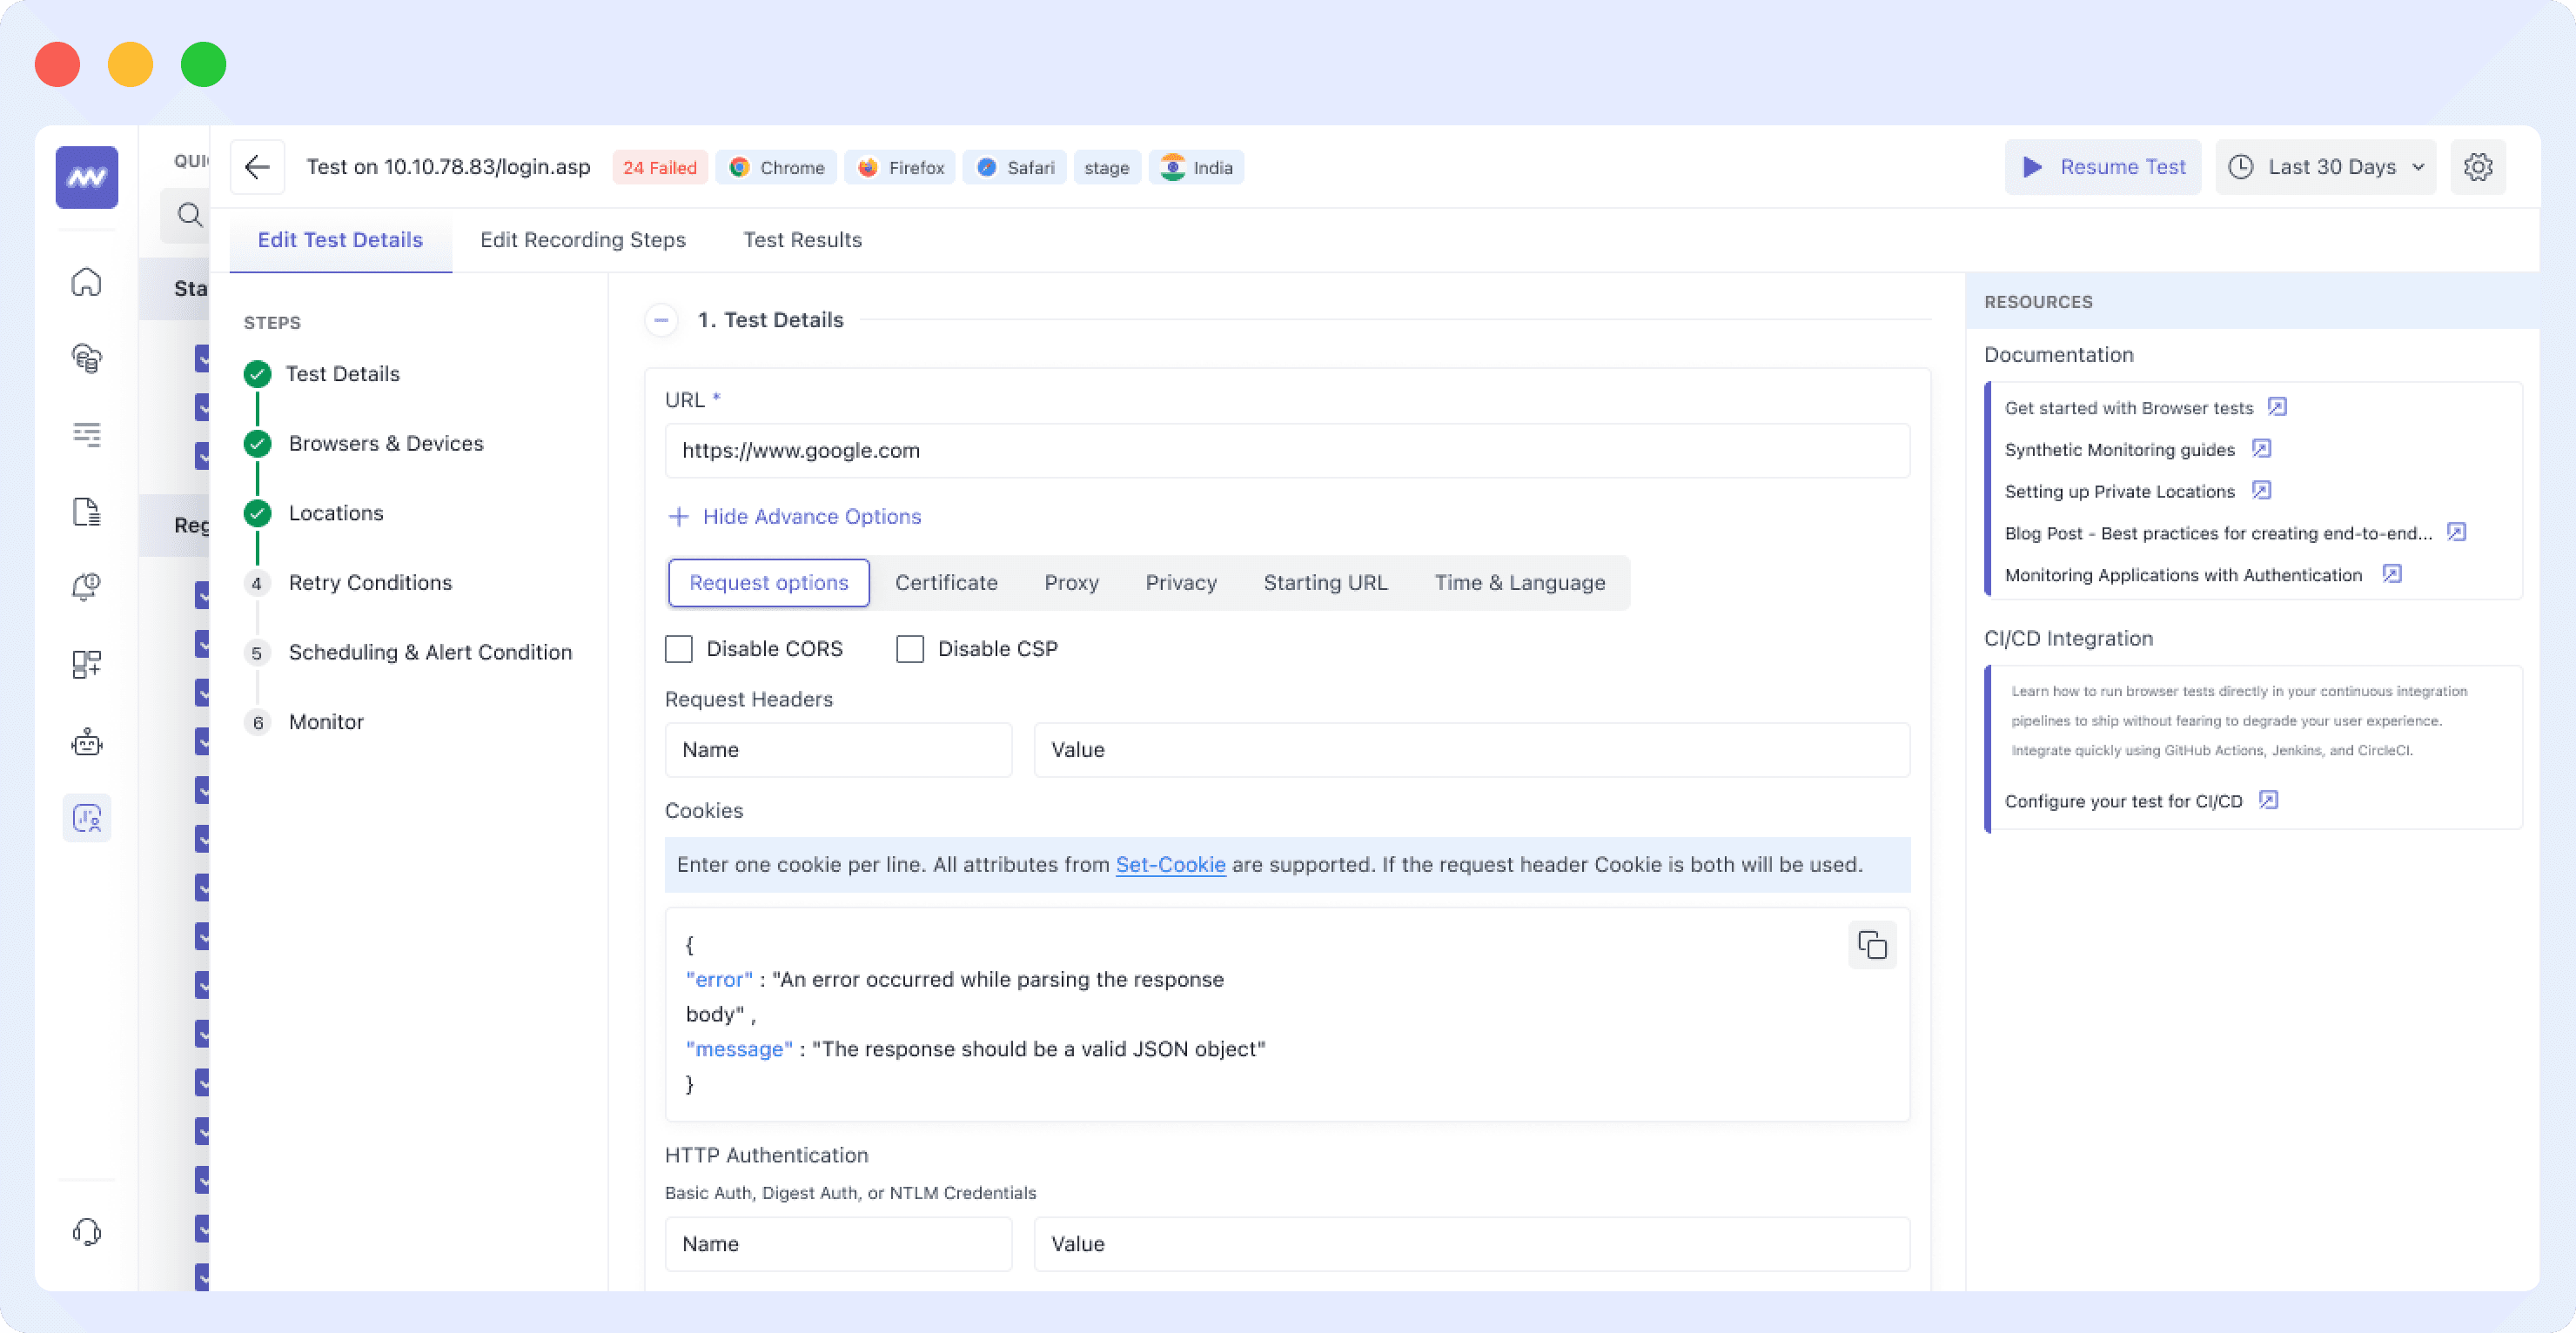
Request Options#
- Disable CORS/CSP:
Prevent browser test failures caused by CORS (Cross-Origin Resource Sharing) or CSP (Content Security Policy) restrictions. EnableDisable CORSorDisable CSPas needed. - Request Headers:
Add or override default headers. Example: Specify a customUser-Agentfor your browser tests. - Cookies:
Add custom cookies in the formatSet-Cookie. Define one cookie per line. - HTTP Authentication:
Use Basic, Digest, or NTLM authentication by providing a username and password. Credentials are used in all steps of the test.
Alert Conditions#
Define the conditions under which a test sends notifications.
For example:
- An alert triggers if a specific assertion fails for
Xminutes innout ofNlocations. - Retry a failing test
Xtimes before marking it as failed for a location.
Use the Middleware API to customize retry intervals or conditions further.
Notifications#
- Customize alert messages using Markdown.
- Specify renotification intervals or disable renotifications.
- Notify specific team members or services using Slack, Gmail, Opsgenie, etc.
Recording Test Steps#
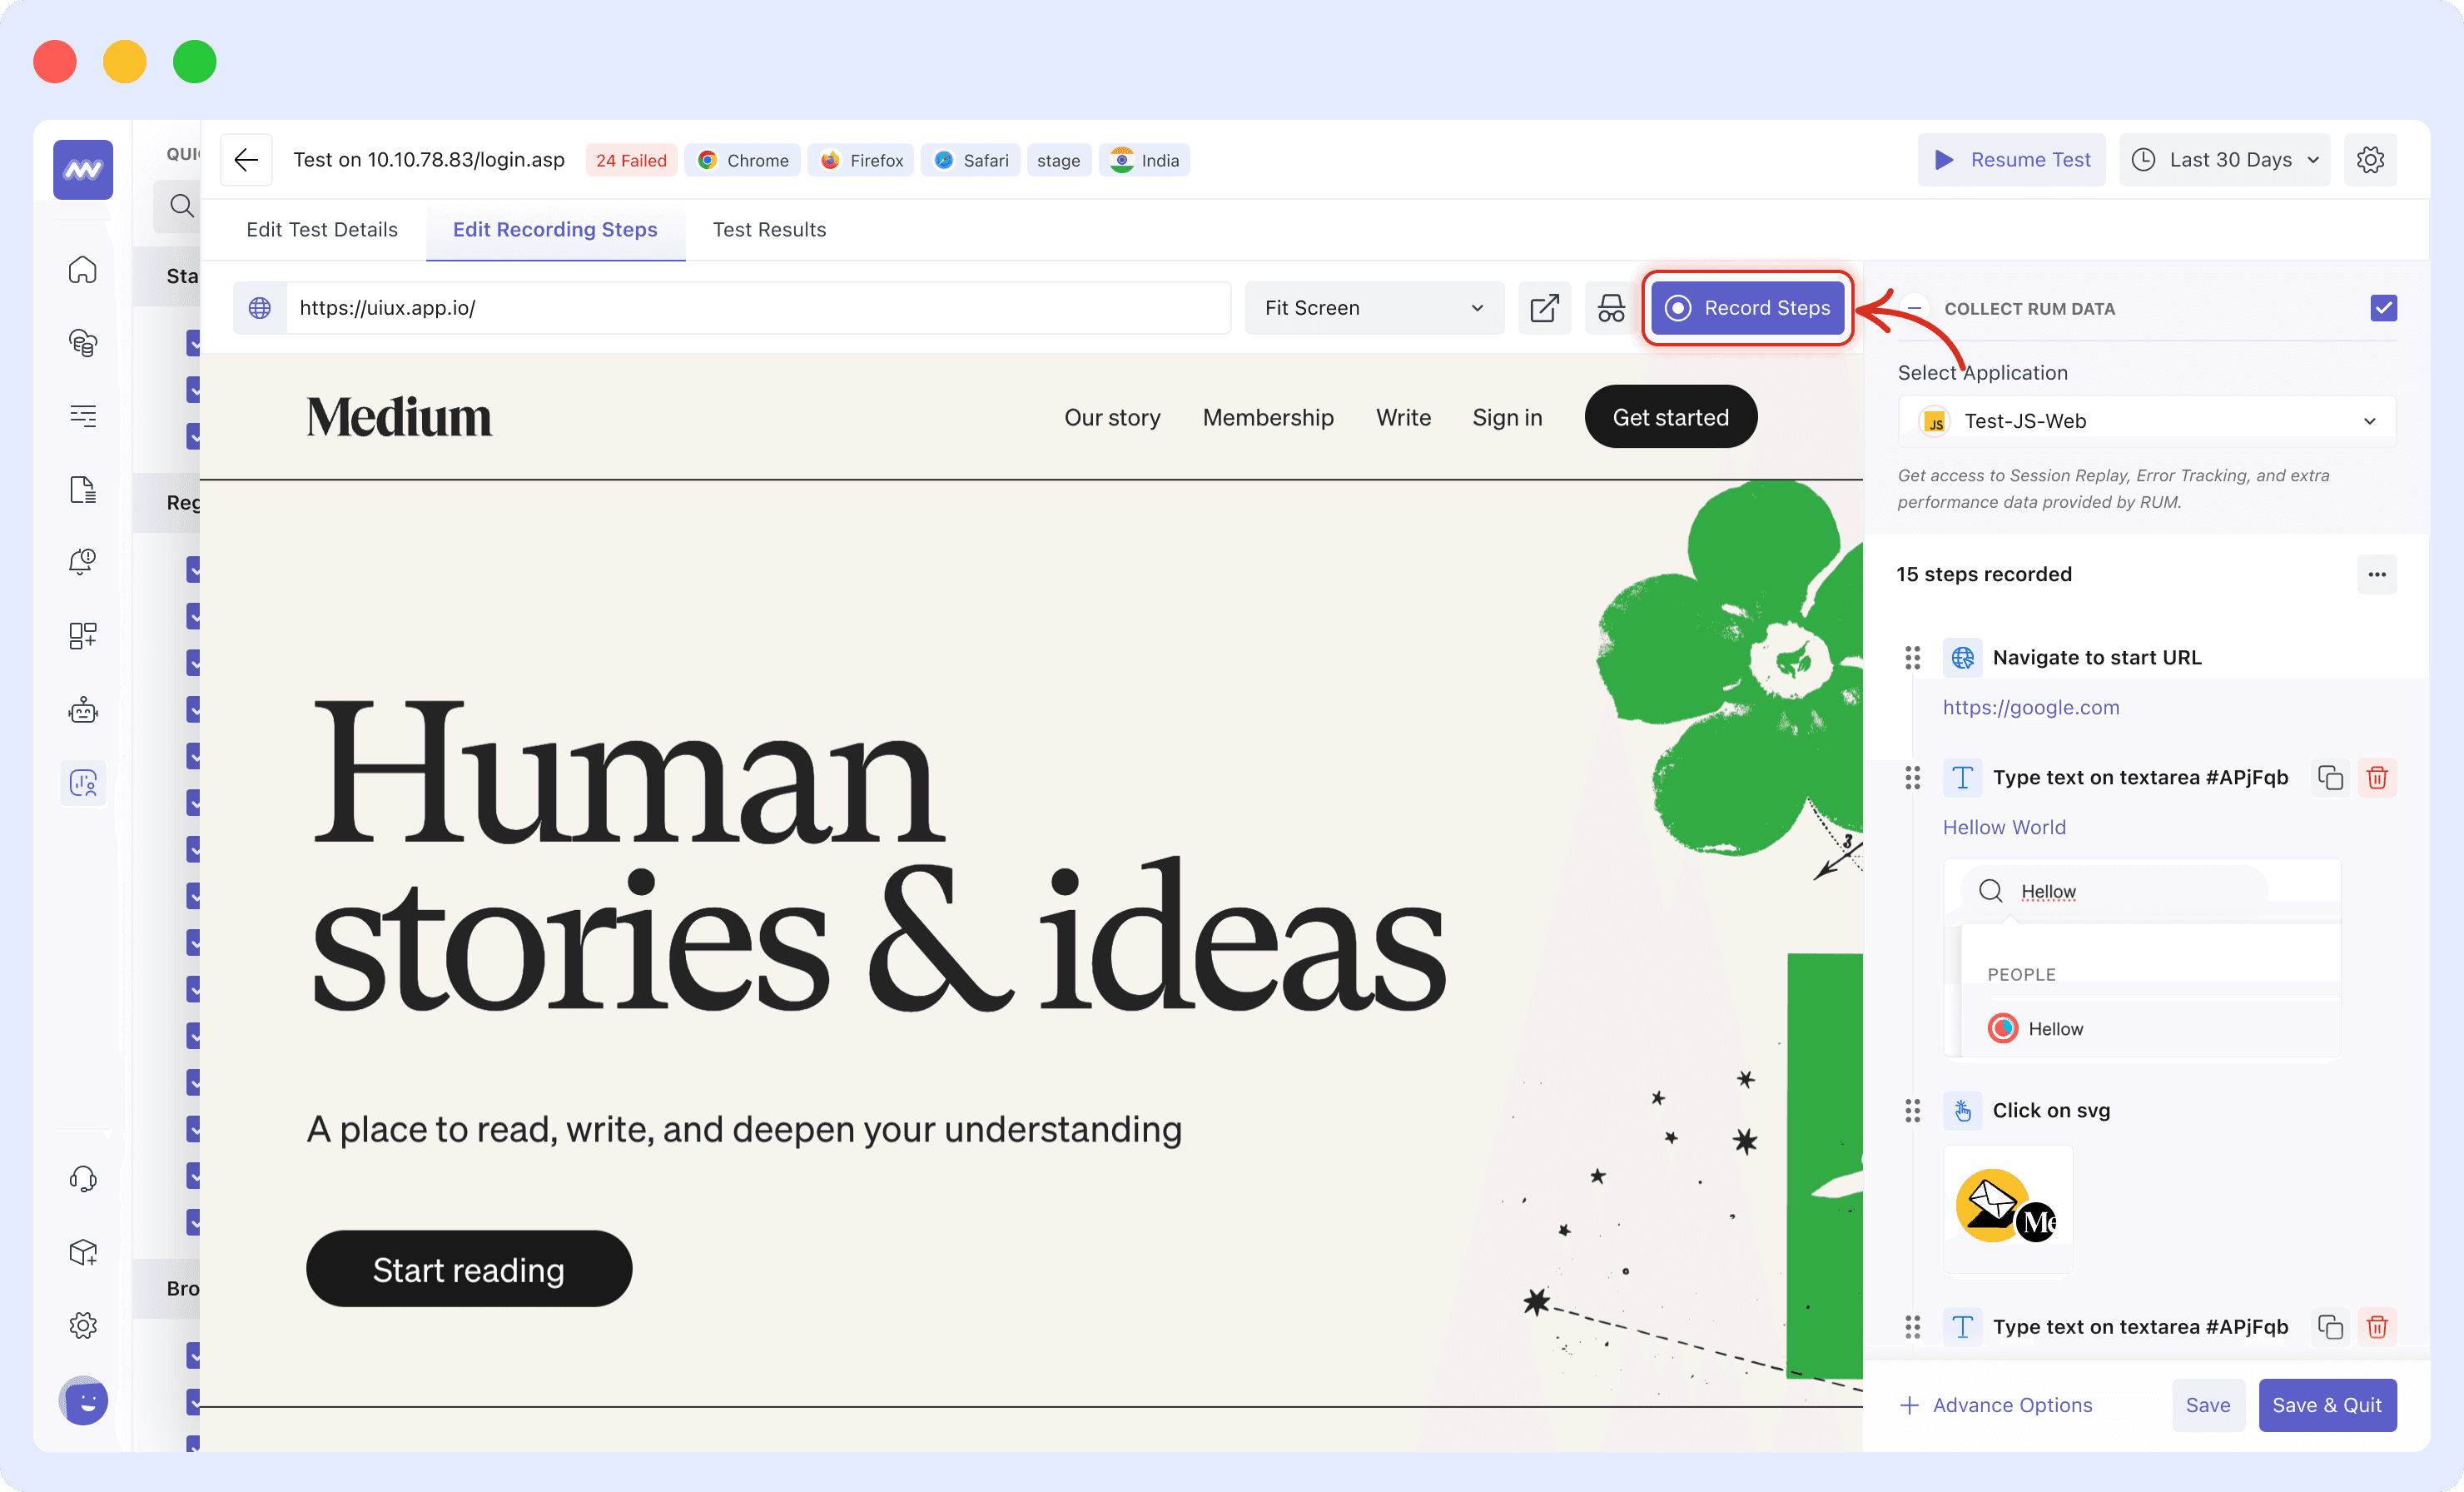
Middleware provides tools to record browser interactions as test steps. If you already recorded the journey in Chrome DevTools, you can import it instead.
- Download Test Recorder Extension:
Install the Middleware Test Recorder extension for Google Chrome. Use this link to install the extension.
Link: Middleware Synthetic Recorder - Start Recording:
Use the extension to capture clicks, inputs, and other interactions. - Switch Tabs:
Record interactions across tabs for multi-tab user journeys. Middleware automatically replays these steps during execution. - Assertions:
End your browser test by adding an assertion to verify that the desired state is achieved (e.g., checking for specific text or an element). - Special Actions:
Enhance your test accuracy by incorporating special actions like scroll, hover, and wait. Additionally, use key events to make the test more precise.
Import from Chrome Recorder#
If you've recorded a user journey with the Recorder panel in Chrome DevTools, you can import it as the steps of a browser test instead of recording it again. Importing doesn't need the Middleware Synthetic Recorder extension.
For a full walkthrough of the Recorder panel, see Google's Record, replay, and measure user flows guide.
Export the recording from Chrome#
- In Chrome, open the page where the journey starts and open DevTools.
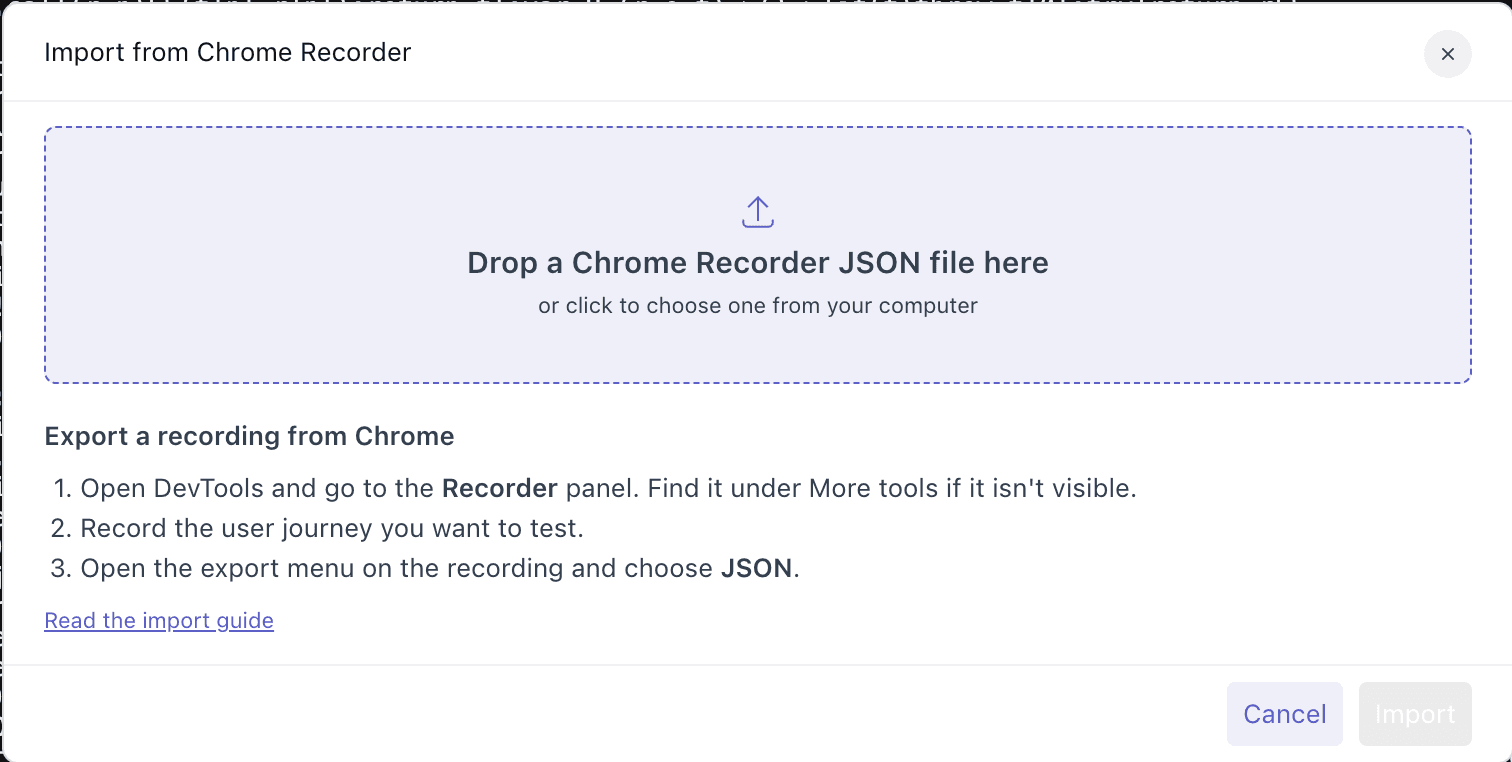
- Open the Recorder panel. If it isn't visible, open the DevTools ⋮ menu and go to More tools > Recorder.
- Click Create a new recording, give it a name, and click Start recording. Complete the journey in the page, then click End recording.
- Open the Export menu on the recording, choose JSON, and save the file.
Choose JSON when you export. The Puppeteer and @puppeteer/replay options produce JavaScript files, which Middleware can't import.
Import the file into a browser test#
- Create a browser test, or open an existing one, and go to the Edit Recording Steps tab.
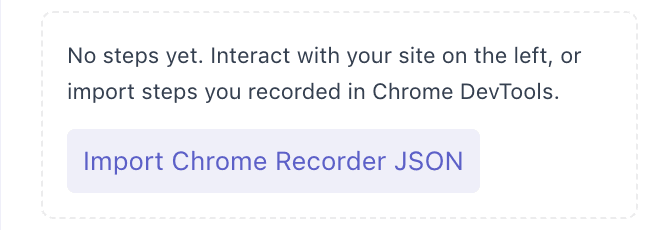
- Click Import JSON next to Record Steps. If the extension isn't installed, or the test has no steps yet, click Import Chrome Recorder JSON instead. You can also drag the
.jsonfile onto the page.
- Drop the file into the dialog, or click to choose it. Middleware lists the steps it found so you can check them before importing.
- If the test already has steps, choose one:
- Replace current steps removes the existing steps and uses the recording.
- Add after current steps keeps the existing steps and adds the recording to the end.
- Click Import to add the steps, or Add if you chose to add after current steps. The steps appear in the recorded steps list, where you can edit, reorder, or delete them like recorded steps.
- Add assertions, then click
SaveorSave & Launch.
How recorder steps are imported#
| Chrome Recorder step | In Middleware |
|---|---|
navigate | The first navigate step becomes the test's start URL. Later navigate steps become Navigate to URL steps. |
click | A click step, named after the element's accessible name when Chrome recorded one (for example, Add to cart). |
change | A Change value step that types the recorded value into the field. |
keyDown / keyUp | Combined into one Press Key step per key press. Modifier keys are kept, so Meta + a becomes Meta a. |
doubleClick, hover, scroll, waitForElement, waitForExpression | Imported as the matching step, with the recorded selectors and options. |
setViewport | Not imported. The test runs on the devices you choose under Browsers & Devices. |
When you replace the steps, the test's start URL changes to the first URL in the recording. When you add steps after existing ones, the start URL stays the same.
Troubleshooting imports#
- "This file isn't valid JSON": the file was changed or isn't a Recorder export. Export the recording again and choose JSON.
- "No recorder steps found in this file": the JSON doesn't contain a
stepslist. This usually means the file is a Puppeteer script or a different JSON file. - "This recording only opens a page": the recording has no clicks or input. Record the journey again, interacting with the page before you end the recording.
- Steps fail on the first run: Chrome Recorder records the selectors your browser saw. If the page differs by location or signed-in state, edit the failing step's selector, or add a Wait special action before it.
Best Practices#
- Global Test Locations:
Use Middleware's managed locations to test public websites from key regions (e.g., Americas, EMEA, APAC). - Private Networks:
Use private locations to test internal-facing applications securely. - Frequent Testing:
Configure tests at shorter intervals for mission-critical applications. - Error Debugging:
Use recorded test results, screenshots, and logs to debug issues effectively.
Locations#
Middleware supports the following managed locations for public website testing:
- Americas:
Examples: Northern Virginia (AWS), São Paulo (AWS), Northern California (AWS). - APAC:
Examples: Tokyo (AWS), Sydney (AWS), Mumbai (AWS). - EMEA:
Examples: London (AWS), Frankfurt (AWS), Cape Town (AWS).